

Getting Started with Servers
What to do with a new server: install an OS, connect and set up the firewall. To order one, see Deploying a server.
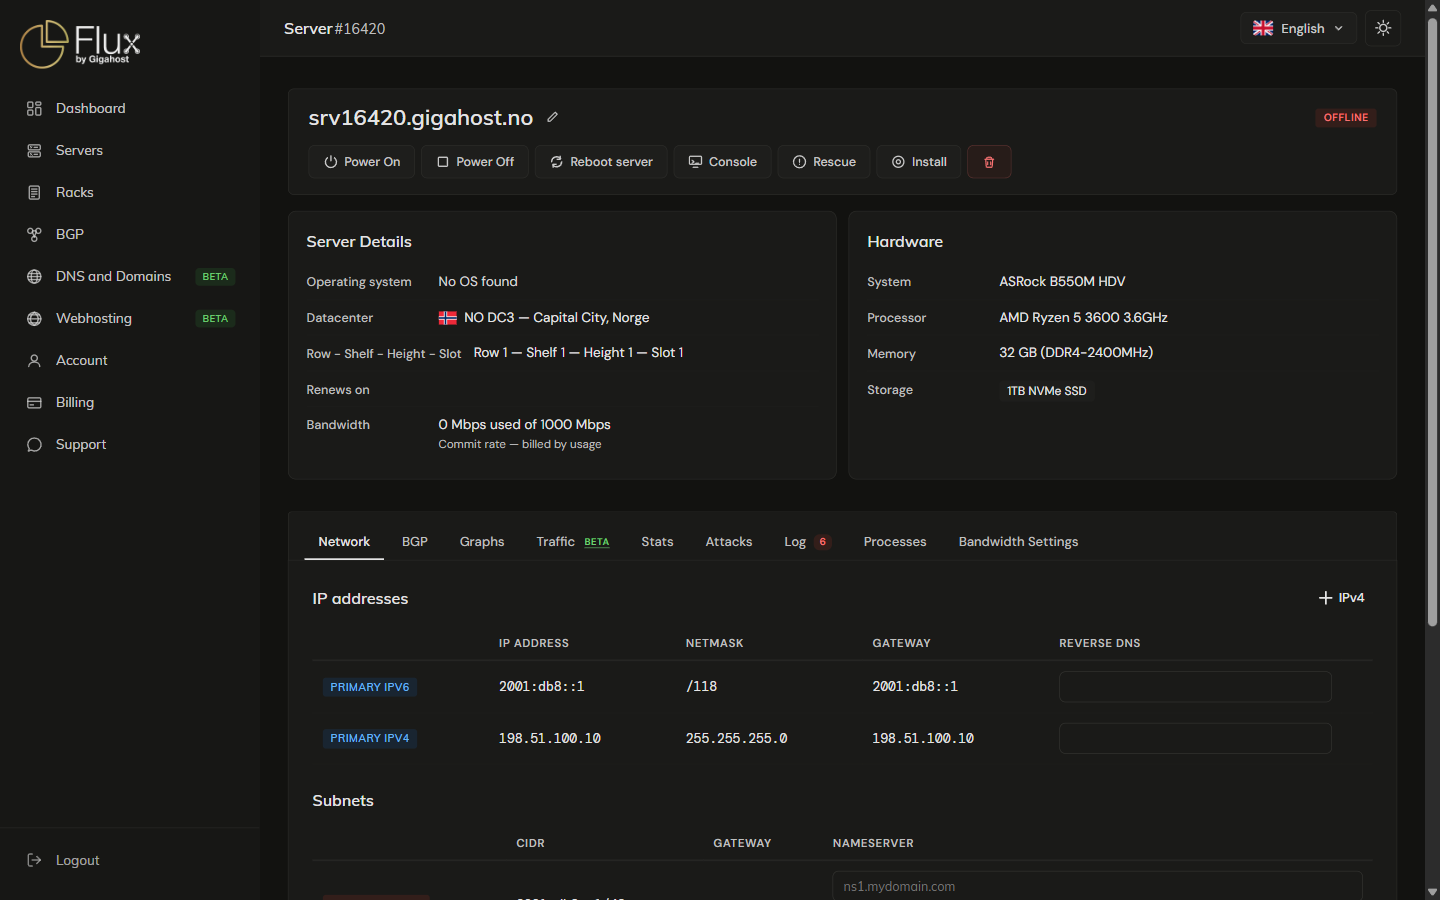
Alert banners
- Suspended: contact support or resolve billing to restore access.
- ISO mounted: Dismount in the banner removes the ISO. The ISO tab has no dismount button; the other place is the Media panel of the Console.
First steps after receiving a server
1. Install an operating system
New servers are delivered without an operating system. Click Install to open the installer.
On KVM servers you can instead mount your own ISO from the ISO tab and install manually. Dedicated servers use the IPMI console for that.
2. Connect via SSH
ssh root@your-server-ipLog in with the SSH key you selected during install, or with the root password shown then. On a server with a one-click app, the app's address and login are in /root/app-info.txt.
WARNING
Change the root password immediately after your first login. Better: disable password login entirely and use SSH keys, see Secure your Linux server.
3. Configure the firewall
The panel firewall is available on KVM servers and is disabled by default, so all traffic is allowed. A sensible starting set:
- Allow SSH (
22) from your IP address or a trusted range. - Allow HTTP (
80) and HTTPS (443) if running a web server. - Set the default policy to DROP.
WARNING
Before setting the default policy to DROP, make sure you have an ACCEPT rule for SSH from your own IP. If you do lock yourself out, the in-panel Console is the way back in.